Overview
The OTA (Over-the-Air) command in the Radix Device Management Platform enables you to create and install OTA updates to the operating system and apps on the Android devices in your fleet. It can also dispatch an operating system image file to a remote device.
Note: This command is only applicable to Android devices.
Accessing the OTA Updates Command
There are four methods to access the OTA Updates command:
Method 1: From the Repositories Console:
1. Click on the Deployment icon in the sidebar menu of the Overview Dashboard and go to Deployment>OTA.

The OTA window opens, showing stored OTA update options.
Method 2: From the Bulk Actions Button:
1. Click on Devices in the sidebar menu to open the Devices table.

2. From the list, select the device onto which you wish to apply the OTA update by checking the checkbox in the far-left column. Using this method, you can select several devices and apply the OTA update to all of them at once.

The Bulk Actions button becomes active.
3. Click on Bulk Actions>Deploy>OTA.

The OTA window opens, showing stored OTA update options, as above in Method 1.
Method 3: From the Device’s Three-Dot Menu:
1. Click on the Devices icon in the sidebar menu.
2. From the Devices table, find the device to which you would like to apply the OTA update, and click on the three-dot menu in the far-right column Deploy>OTA:

Method 4: From the Device Dashboard:
You can also access the OTA command from the Device Dashboard.
1. Click on the Devices icon in the sidebar menu to open the Devices table.
2. From the list, find the device for which you want to apply an OTA update. You can use the Search bar at the top of the list.
3. Click anywhere on the row of the specific device.

The Device Dashboard opens.

4. Click on Repositories actions in the menu on the far-right side, and select OTA.

Using the OTA Command
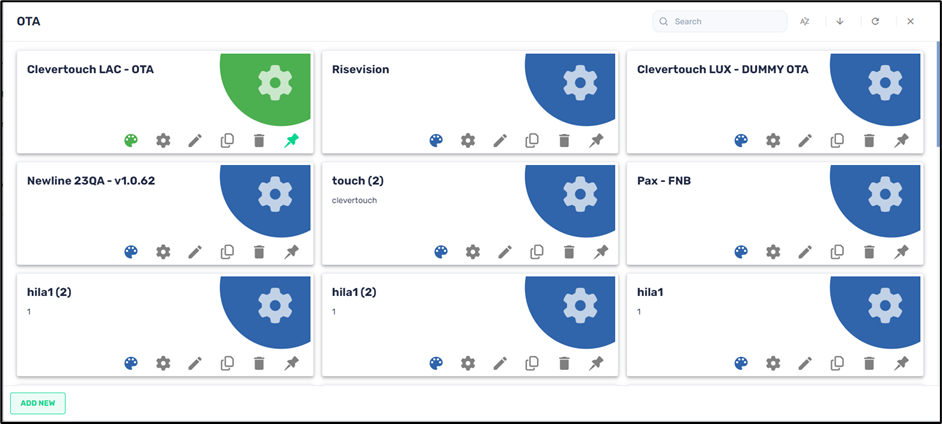
When you access the OTA update repository by one of the above methods, a grid of stored OTA updates appears.

You can choose to edit an existing OTA setting or add a new one.
To edit an existing OTA setting stored in the Radix Device Manager:
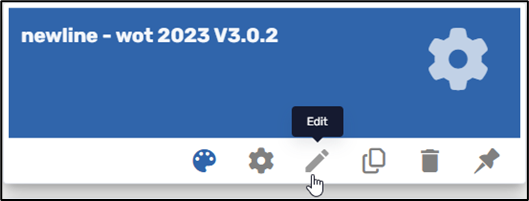
1. Select the tile of the desired OTA setting and click on the tile’s Edit icon.

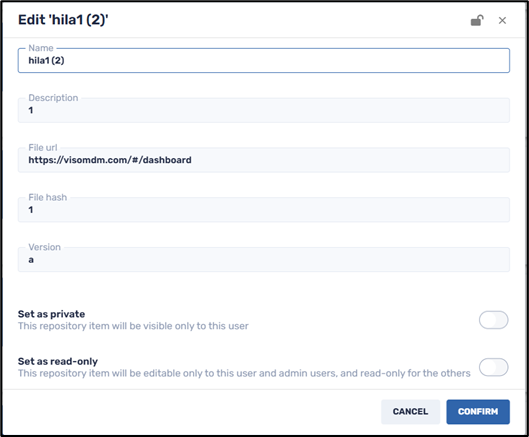
The Edit window opens.
2. Supply the name, description, URL etc., and click Confirm.

To create a new OTA setting:
1. Click on Add New in the lower left corner of the OTA panel of options. The New OTA window opens.

2. Supply a name for the OTA update and a description that will appear in the tile for that OTA update in the OTA repository.
3. Supply the URL of the zip folder of the OTA updates, as well as the file hash and version of the OTA update. The file hash ensures the integrity of the update that you have received.
4. Click Confirm. The OTA update you have created will now appear in the repository.
5. Click on the Set as private button if you would like the OTA setting to only be visible to you (as the creator of the item) when using the Radix Device Manager.
6. Click on the Hide content from others button if you want to allow others to use the OTA update item, while not allowing them to view or edit its details.
7. Click on the Set as read-only button if you would like to limit who will be able to edit the details of the OTA setting. Anyone with Administrator privileges can edit it, while someone with only User privileges can only access and use it but cannot edit it. When you click on Set as read-only, you will see the lock icon at the top of the screen turn to a “locked” position.
8. Click Confirm to save the OTA setting.
Installing an OTA Update
To install an OTA update on a device:
1. Open the Devices table and select the device for which you wish to apply the OTA update.
2. Open the OTA window by Methods 2, 3, or 4 above. (If you open the OTA window from the Repositories console, you will be able to view and edit the OTA updates, but you will not be able to apply them to any devices.) In our example, we will apply an OTA update for the device Newline 23QA.
3. In the OTA repository window, we select the desired OTA update for a Newline 23QA device and click Apply.
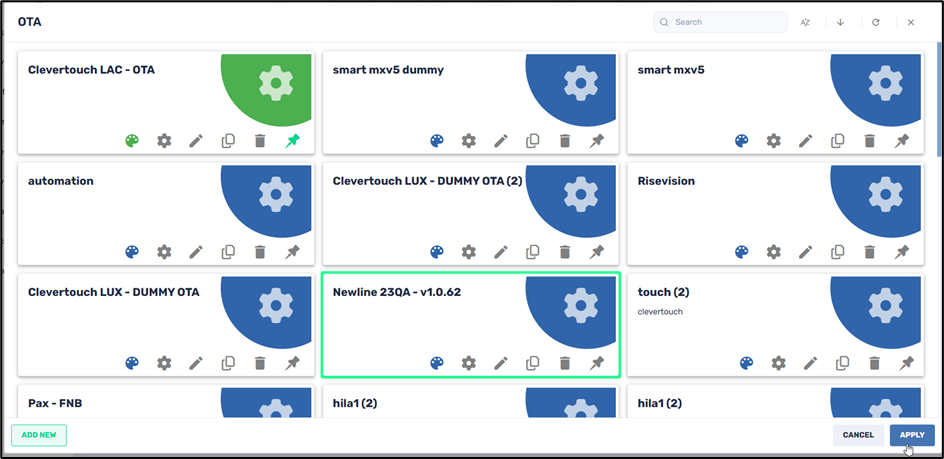
You will receive a notification that the OTA update was sent and installed successfully:

Editing an OTA setting
You can also edit the details of an existing OTA setting.
To edit an existing OTA setting:
1. Open the OTA window using one of the methods detailed above.
2. Select the tile of the desired OTA setting and click on the tile’s Edit icon.
The “Edit” window opens.
3. Make the desired changes to the name, description, URL of the zip folder of the OTA updates, the file hash, and file version, and click Confirm.